Beaded Bracelet Tutorial: Step-by-Step for Beginners
How do you make a beaded bracelet step by step?
Making a beaded bracelet is mostly about picking the right stringing material, planning your bead order, and finishing with a secure closure. Here’s a straightforward, beginner-friendly method you can complete in under an hour.
Step 1: Gather supplies
You’ll typically need beads, elastic cord (for a stretch bracelet) or beading wire (for a clasp bracelet), scissors, a ruler or measuring tape, and a bead stopper or masking tape. If you’re using a clasp, also grab crimp beads and crimping pliers.
Step 2: Measure your wrist and plan the fit
Wrap a tape measure around your wrist and add about 1/2 inch for a comfortable fit (add a bit more if you like a looser bracelet). Lay your beads out in the order you want before you start stringing.
Step 3: Cut your cord or wire
Cut a length that’s longer than you think you’ll need—usually wrist size plus 8–12 inches. The extra length makes tying knots or attaching findings much easier.
Step 4: Start stringing
Secure one end with a bead stopper or a small piece of tape so beads don’t slide off. String beads according to your layout, checking that the pattern stays balanced as you go.
Step 5: Test the size before finishing
Wrap the nearly finished strand around your wrist (carefully, so beads don’t spill). Adjust by adding or removing beads until it sits the way you want.
Step 6: Finish the bracelet
For elastic: tie a surgeon’s knot (double overhand) and add one more knot for security, then trim close. For wire: thread the end through a crimp bead and clasp, loop back through the crimp, flatten the crimp with pliers, and trim the tail.
Step 7: Add a personalized touch
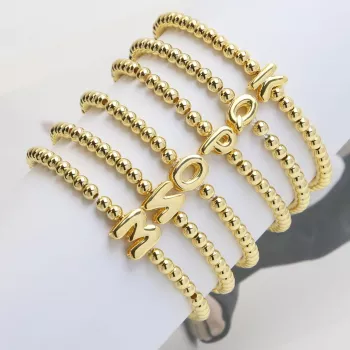
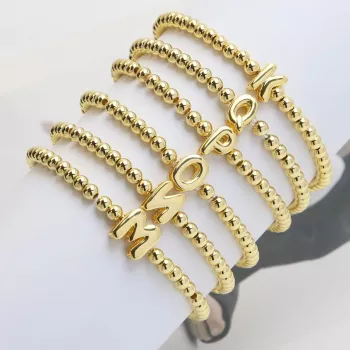
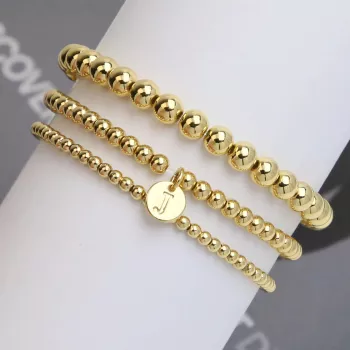
Mix in letter beads, spacer beads, or polished round beads for a clean, elevated look. For inspiration on customizing a letter-style bracelet with a sleek finish, visit this guide to a custom letter 18K polished balloon bead bracelet.
FAQ
What string is best for beaded bracelets?
Elastic cord is easiest for stretch bracelets, while beading wire is best for a more structured bracelet with a clasp. Choose a thickness that fits your bead holes snugly without forcing.









Leave a comment