Elastic Letter Bracelet Tutorial: Stretch Cord to Knot
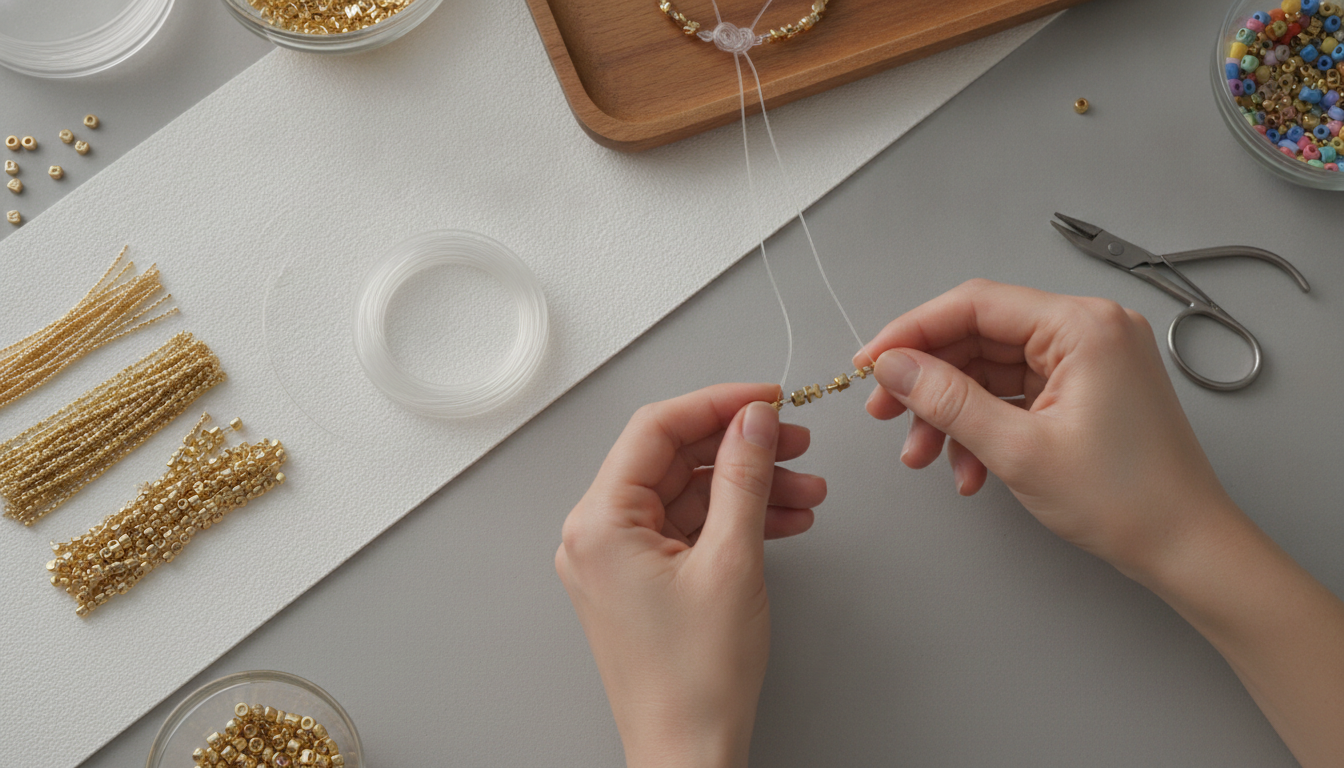
How to make elastic bracelets with letters?
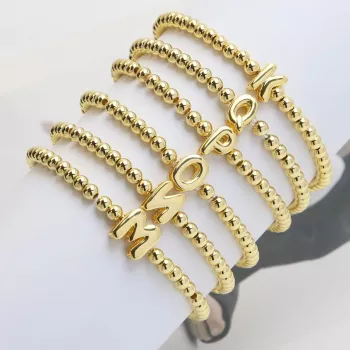
Making elastic bracelets with letters is a simple, customizable project that only needs a few supplies and a little planning. The key is choosing the right stretch cord, balancing letter beads with spacers, and finishing with a secure knot that stays hidden.
Gather your supplies
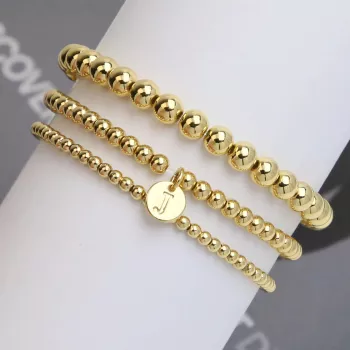
You’ll need stretch cord (typically 0.8–1.0 mm for most letter beads), letter beads, accent beads (metal, acrylic, or polished balloon-style beads), small spacers, scissors, and clear-drying jewelry glue. A beading needle or a piece of thin wire can help thread smaller bead holes.
Plan the message and sizing
Decide what you want the bracelet to say (a name, initials, or a short word). Measure your wrist and add about 0.5–1 inch for comfort and stretch. Lay beads out in order before threading so spacing looks even and the message reads correctly from the top of the wrist.
String the bracelet
Cut a piece of cord about 10–12 inches long to give yourself room to tie. Start threading beads, periodically checking the length by wrapping it around your wrist. If letter beads feel “lost,” frame them with spacers or matching accent beads to make the text pop.
Tie a secure, hidden knot
When the length is right, tie a surgeon’s knot (a double-overhand first pass) and then add 1–2 additional knots for security. Add a tiny drop of jewelry glue to the knot, let it set, and then trim the ends. To hide the knot, slide it into a larger-hole bead if possible.
For a polished look and design ideas (including elevated, gift-ready letter styles), follow the detailed guide here: custom letter bracelet guide.
For Elastic Letter Bracelet Tutorial: Stretch Cord to Knot, the best answer depends on fit, material, care instructions, and how the product will be used day to day.
FAQ
How do you keep letter beads centered on a stretchy bracelet?
Use identical spacer beads on both sides of the letters and keep the total bead count symmetrical. If the bracelet still twists, slightly tighten the fit so it sits closer to the wrist.









Leave a comment